
Intro
Dynamics 365 CRM is a powerful tool for businesses to manage their customer data and interactions. To enhance its capabilities and tailor it to specific business needs, creating custom plugins is essential.
🧩 In this blog post, I’ll guide you through the process of making your first Dynamics 365 CRM plugin. Whether you’re a developer looking to extend CRM functionality or a CRM administrator seeking a more in-depth understanding, this step-by-step guide will help you get started on your plugin development journey.
Let’s dive into the world of Dynamics 365 CRM plugins and empower your CRM with custom business logic and automation.
Requirements
You will need:
- Visual Studio 2019 or 2022
- .NET Framework 4.6.2
- Power Platform Tools for VS 2022 Extension
- Plugin Registration Tool
Steps
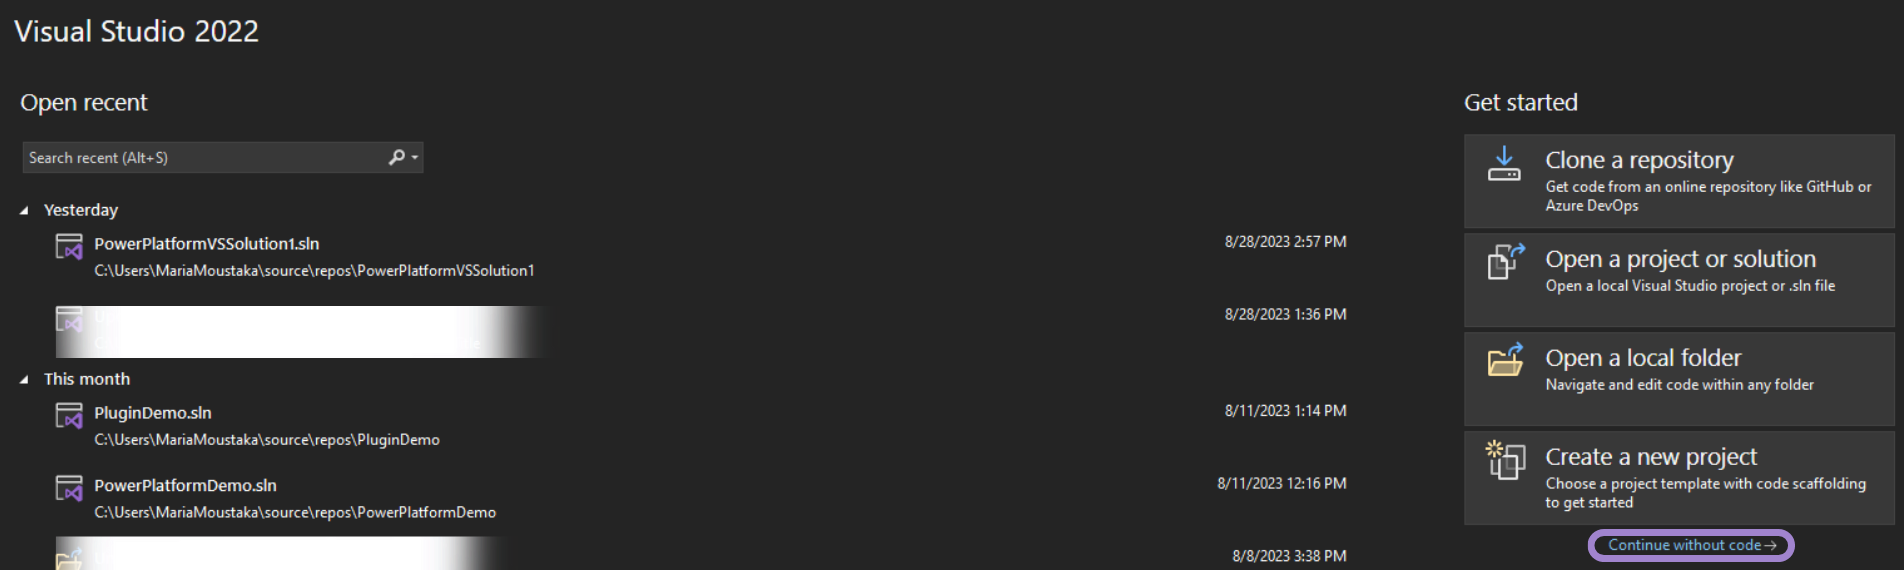
Open Visual Studio and press “Continue without code”.
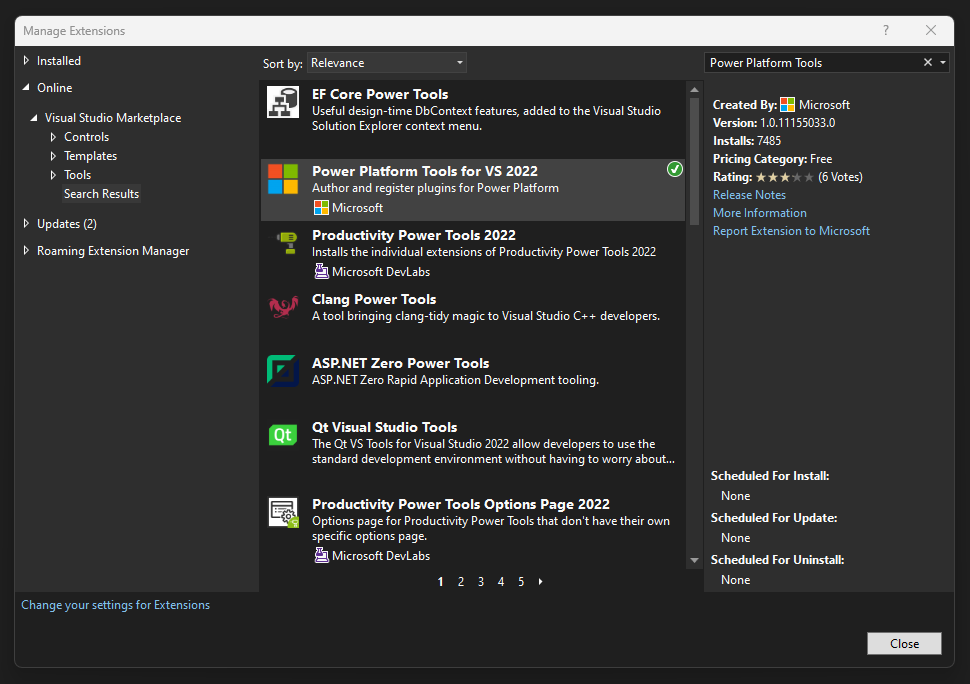
Press “Extensions” and then “Manage Extensions”.

In the search, type “Power Platform Tools” and download Microsoft’s “Power Platform Tools for VS 2022”.
Now, restart the Visual Studio.
New Project
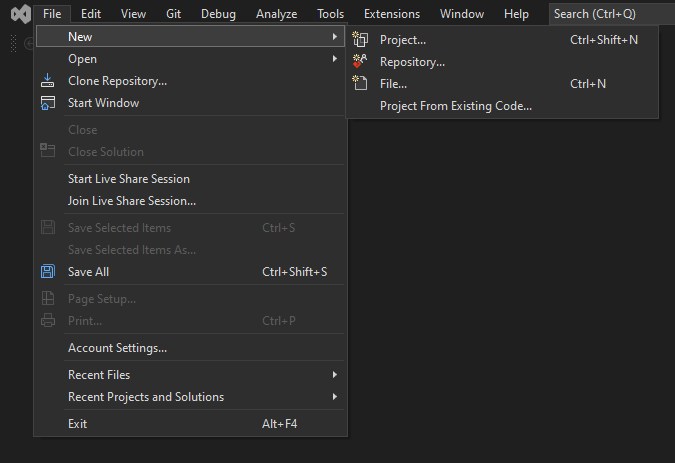
We will create a new solution by clicking File → New → New Project.
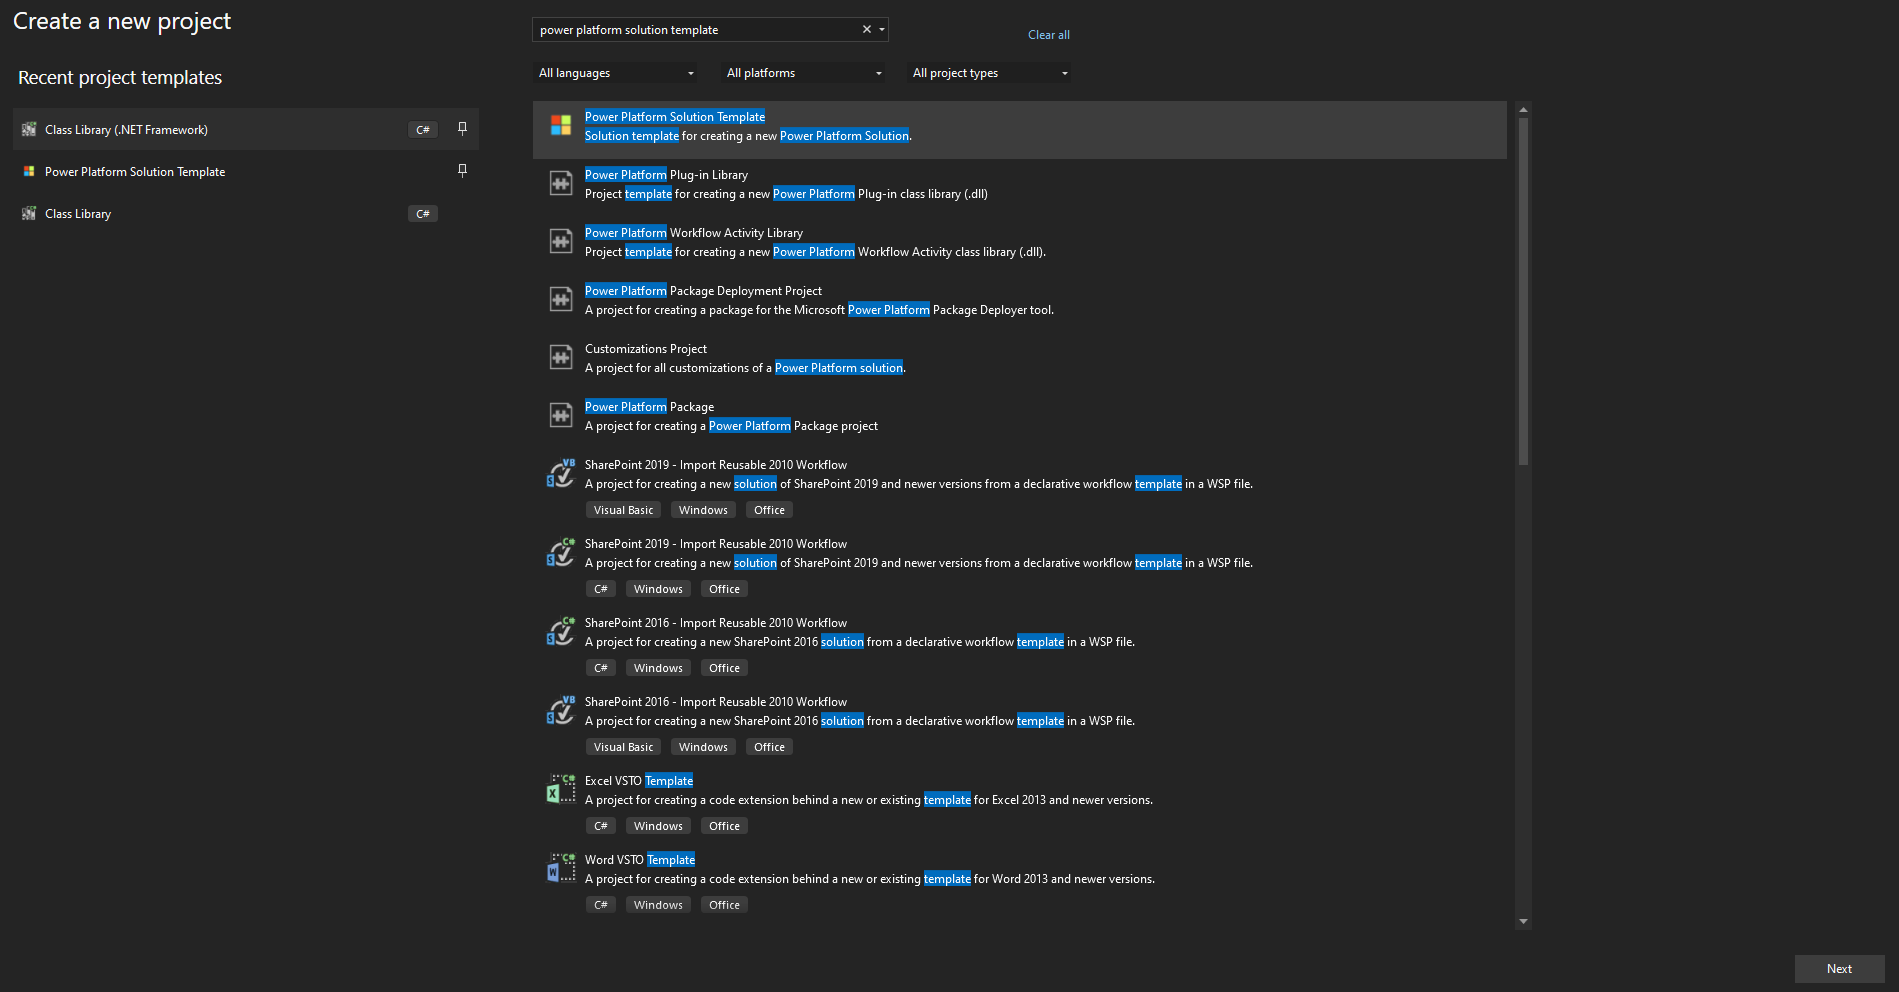
Search for “power platform solution template” and then choose it and press “Next”.
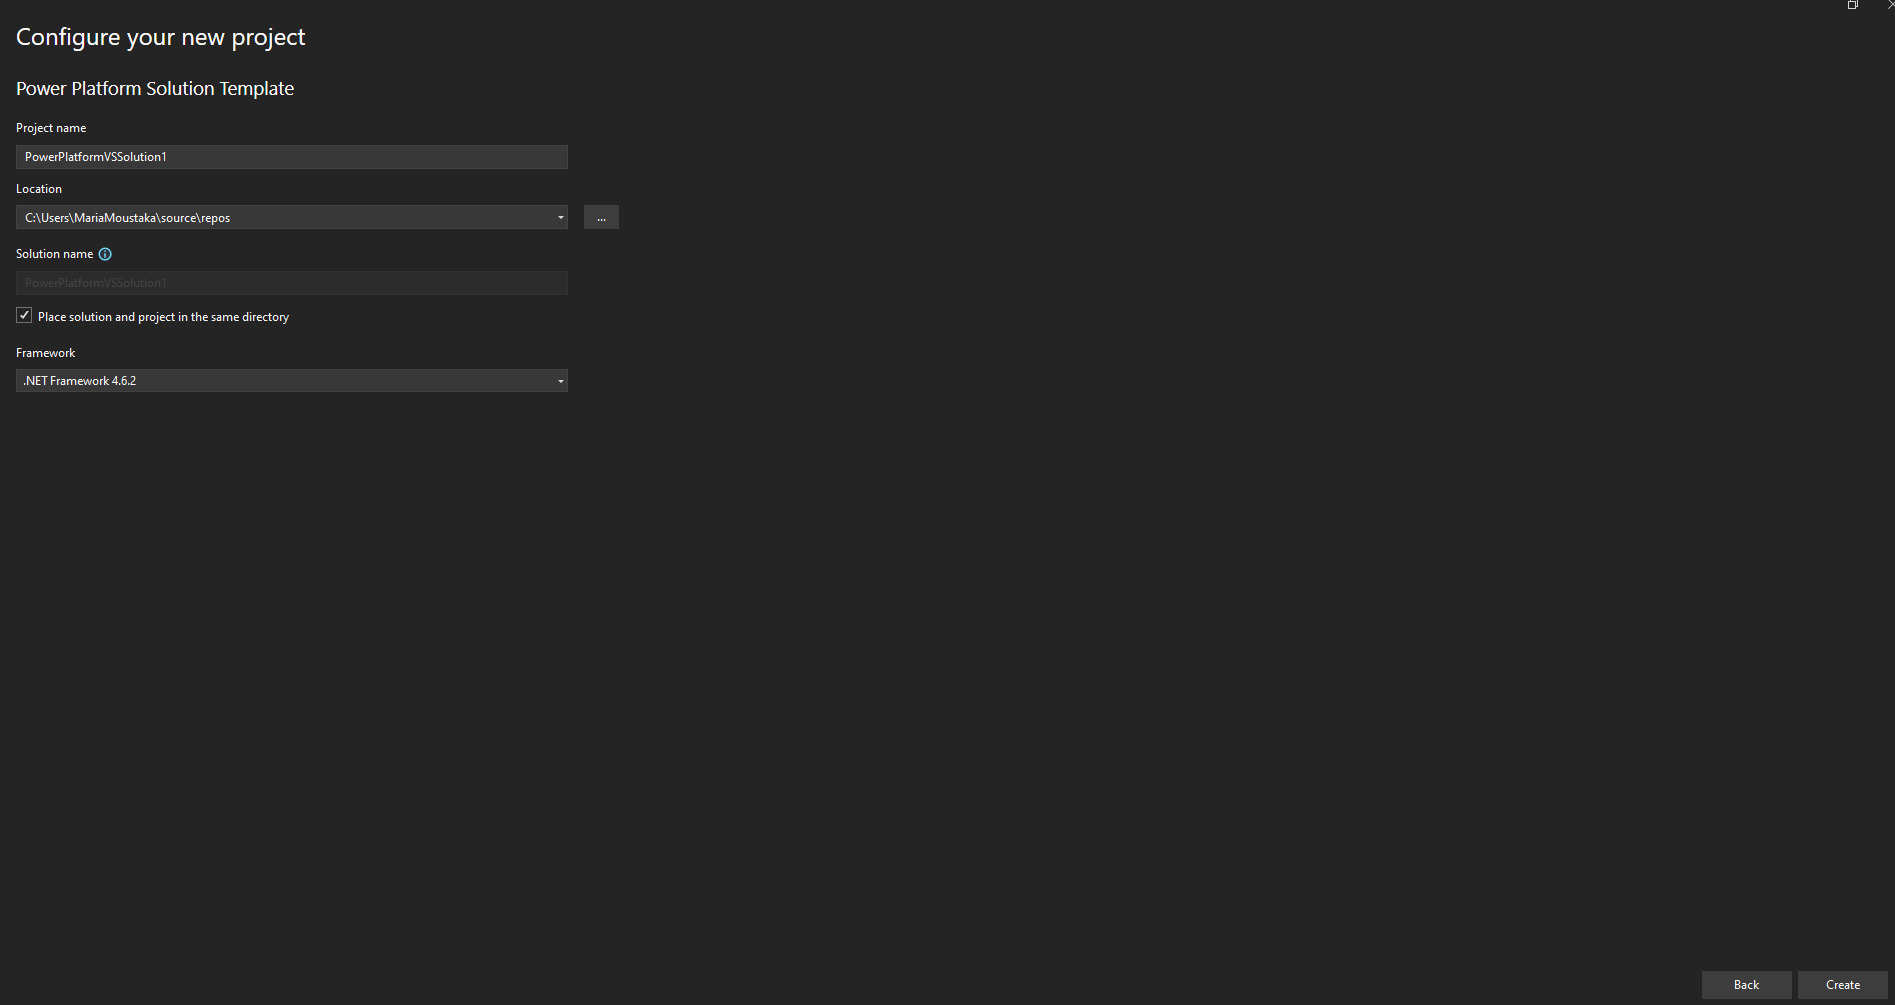
Give a proper “Project Name”, select “.NET Framework 4.6.2” and press “Create”.
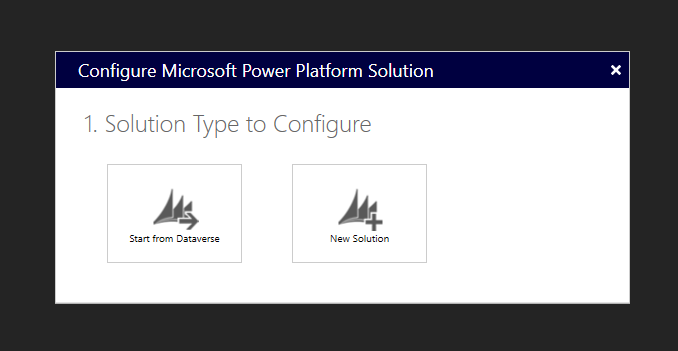
Select either of these options.
I have an existing Dataverse solution, so I will go with the first option.
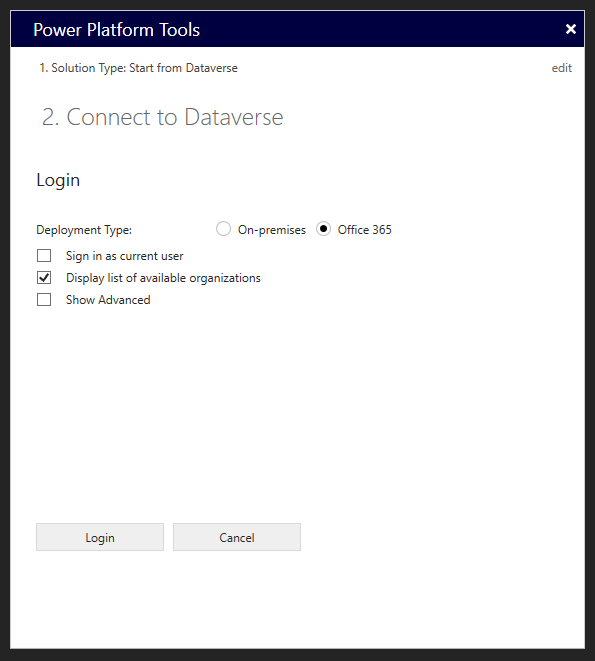
Choose one of these 3 options to log in and then press “Login”.
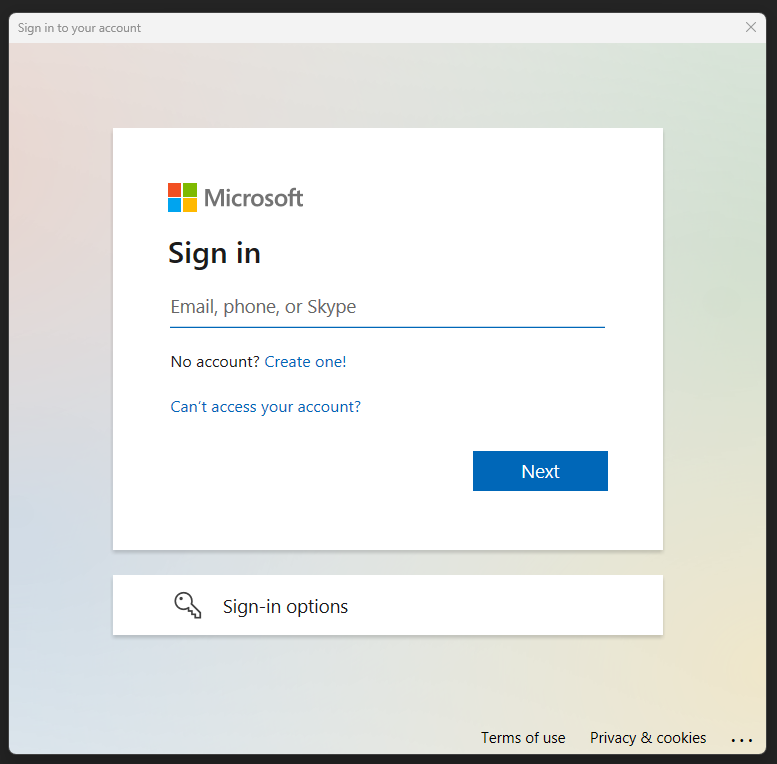
Sign in and pick the solution you want.
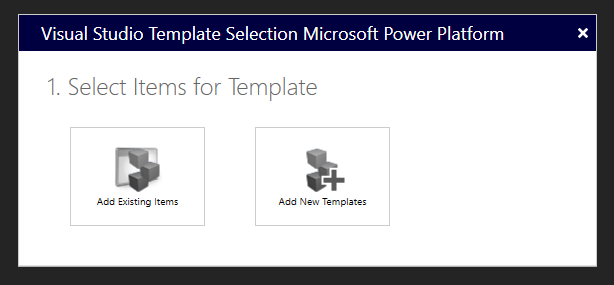
Select one of the two options.
I am going with the first one.
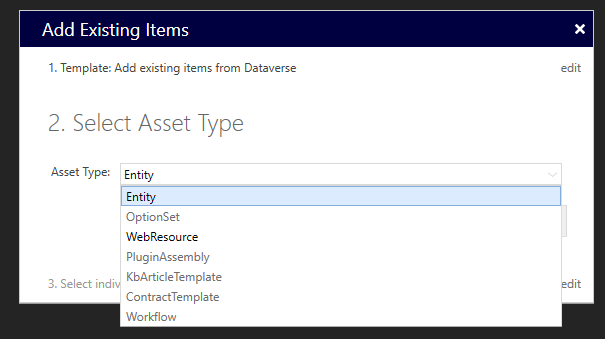
Then, choose “Entity” and then select the entity you want.
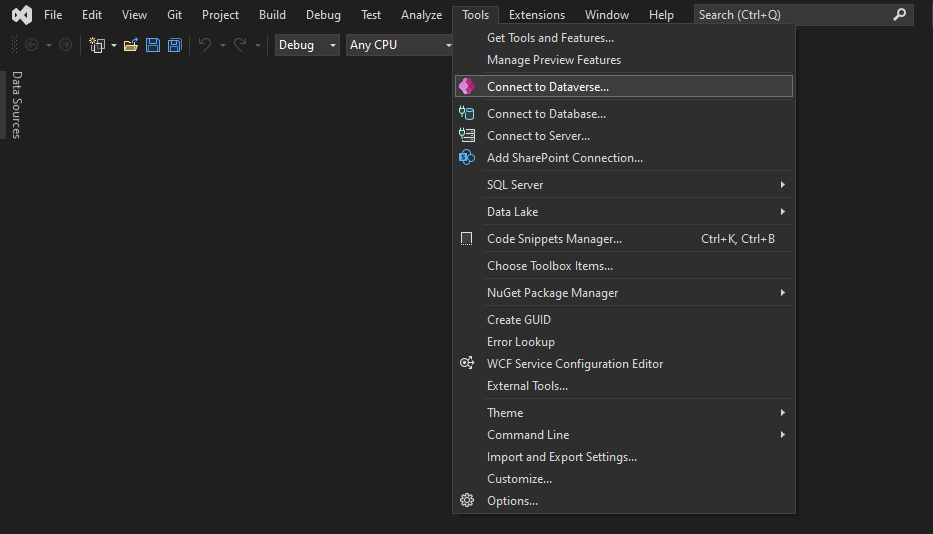
Now, select “Tools” and “Connect to Dataverse…”.
Sign in again, as before.
Right-click the entity you want from the explorer bar and select “Create Plug-in”.
Register the step you want.
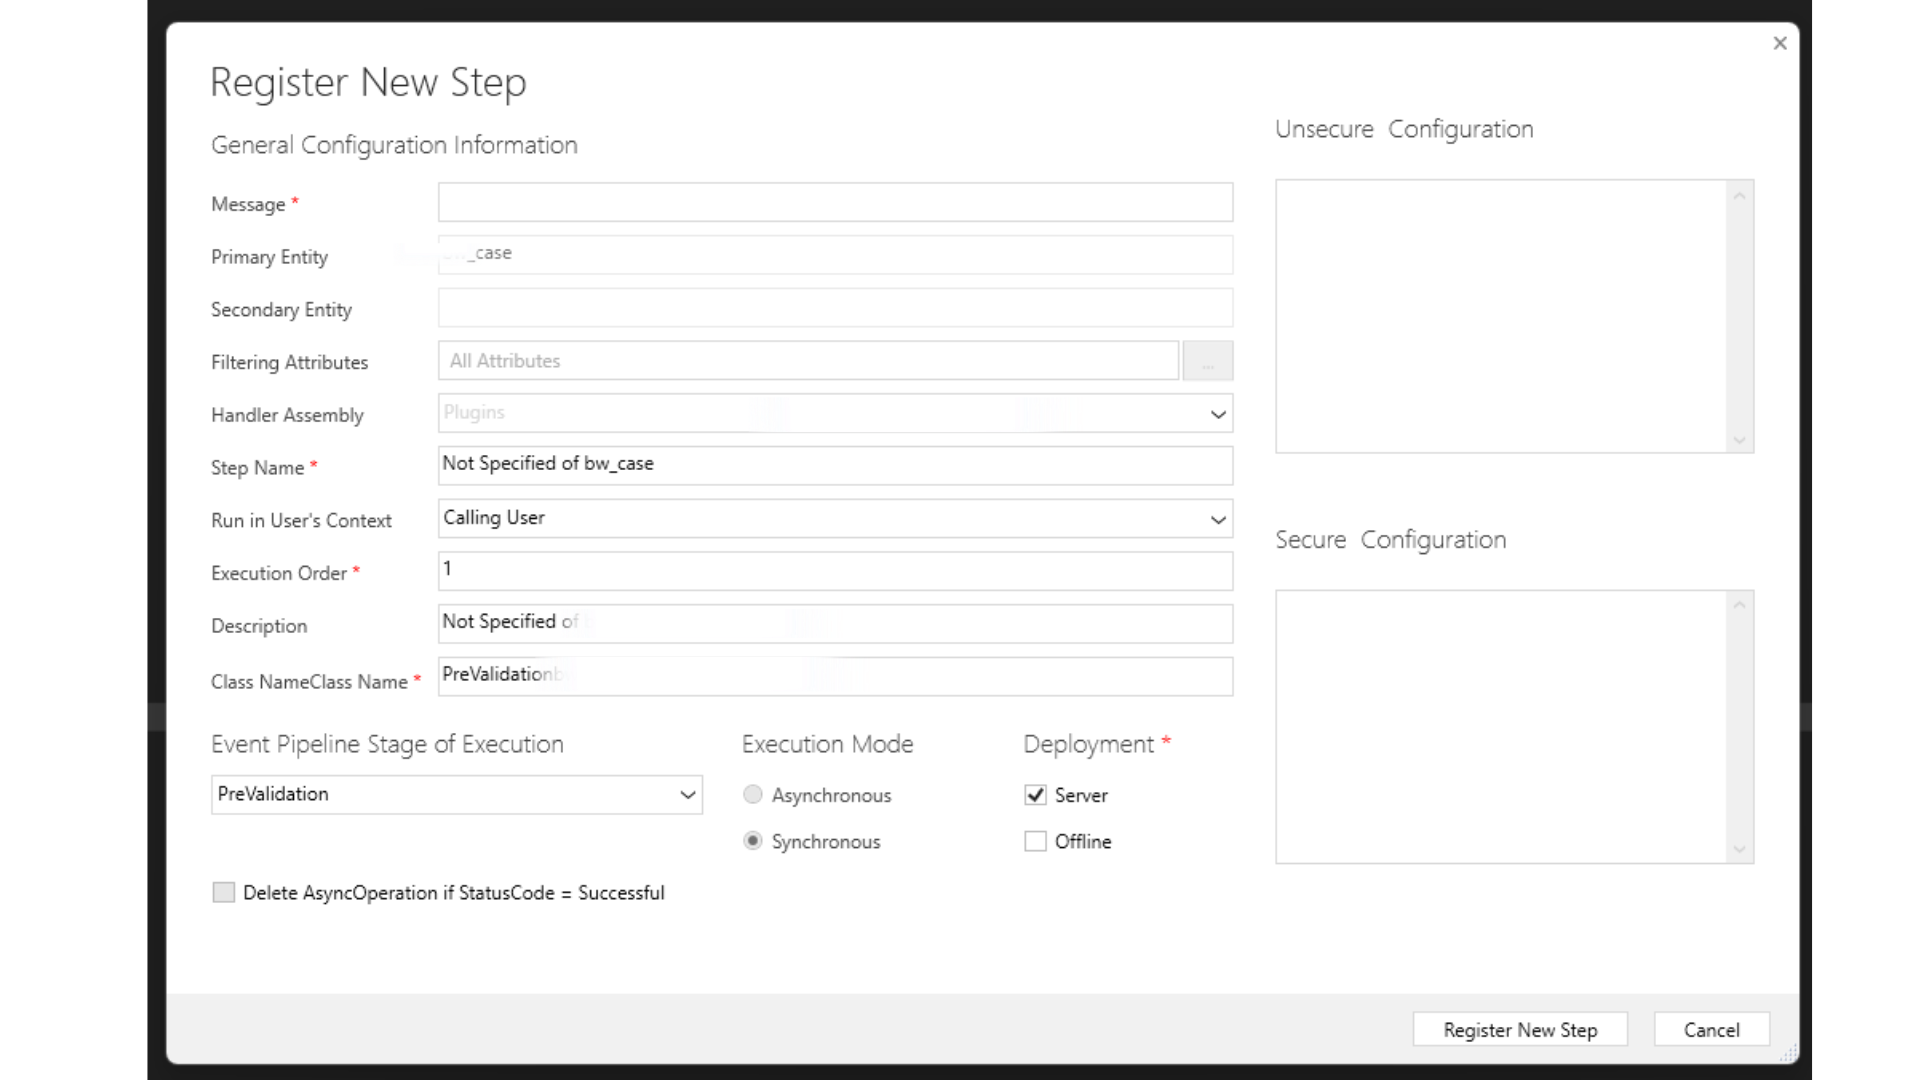
The basic code will automatically be generated.

Signing
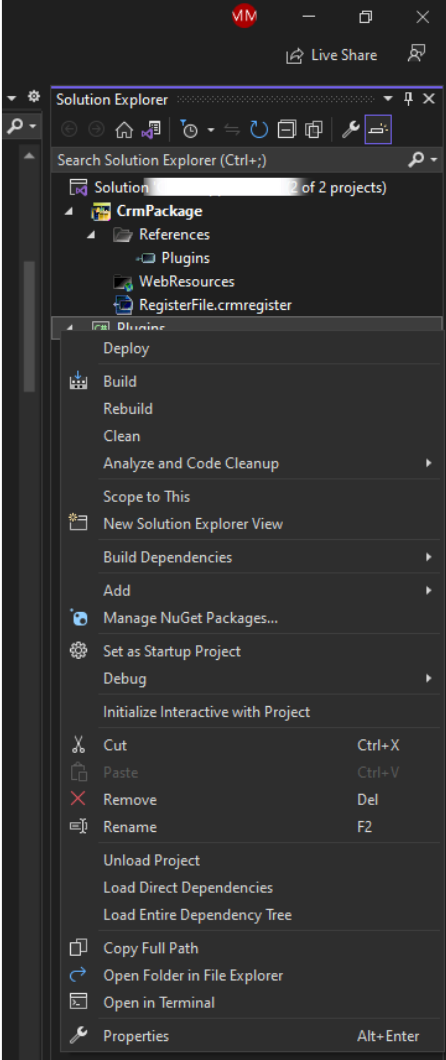
Right-click in Plugins and select “Properties”.
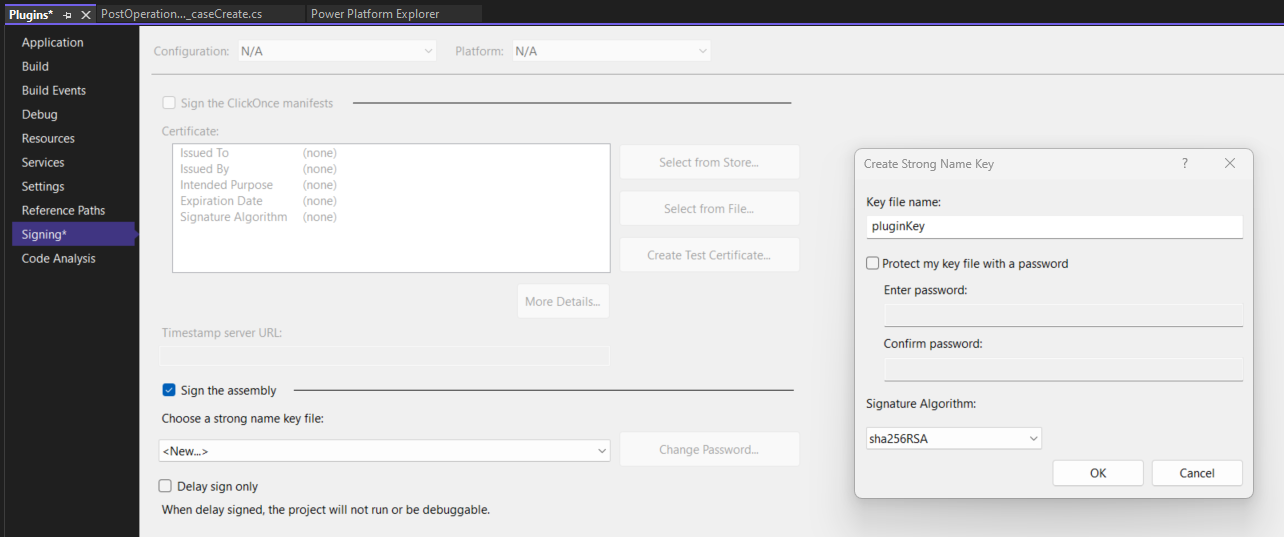
Go to Signing, and tick the “Sign the assembly” check box.
Then select “<New…>”, give a name to the key file name, unselect the box for the password, and press “OK”.
Ready!

Building
Build the solution by right-clicking the Solution and selecting “Build Solution”.
Then, right-click the “Plugins” and select “Deploy”.
Plugin Registration Tool
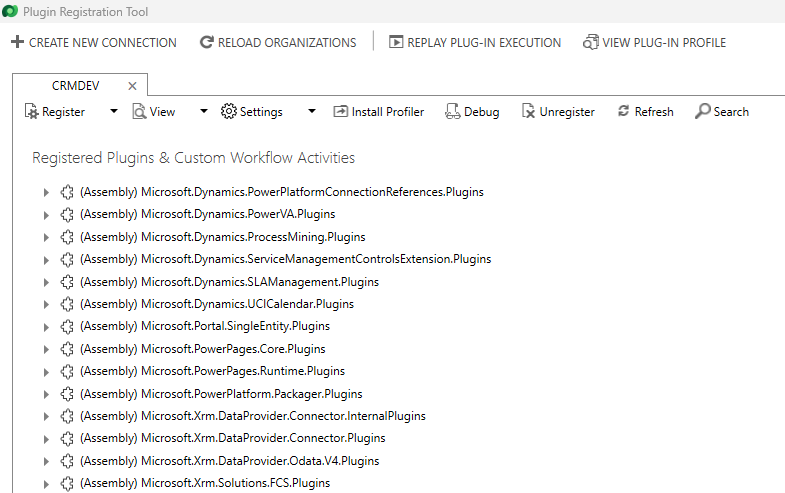
My favorite way to check my plugins and register the steps is by downloading a very helpful tool, the Plugin Registration Tool.
Closing
Creating your first Dynamics 365 CRM plugin is an exciting step toward harnessing the full potential of this robust platform. Whether you’re automating routine tasks, customizing CRM behavior, or integrating with other systems, plugins are a fundamental tool in your CRM toolkit.
I hope this guide has demystified the process and given you the confidence to start building your own plugins. As you delve deeper into the world of Dynamics 365 CRM customization, you’ll discover the endless possibilities for tailoring your CRM to meet your specific business needs.
Feel free to reach out to me if you have any questions or need further assistance on your plugin development journey. Happy coding and transforming your Dynamics 365 CRM experience! 👋